In this post , we will check out one of the cool features of Windows 11, the dynamic lock. This is a latest method by which you can make ‘Lock your computer’ automatic. Go through the steps listed below, to try it out in your PC or Laptop.
Steps to Enable Dynamic Lock in Windows 11
Step 1: First of all, click on the Windows 11 Start menu and select Settings.
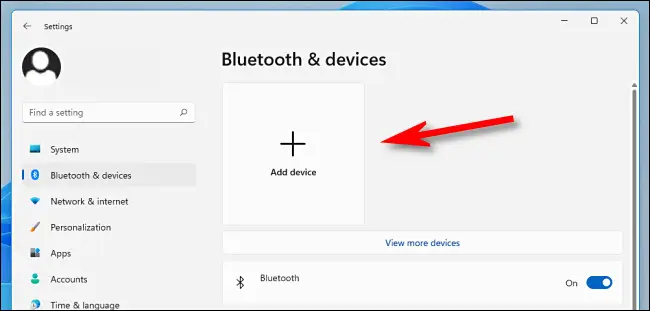
Step 2: On the Settings app, click on the Bluetooth & devices option on the left pane.

Step 3: On the Right pane, click on the Add Device button behind the Devices.
Step 4: On the Add a device pop-up, click on the Bluetooth.
Step 5: Now, Windows 11 will scan all available Bluetooth devices nearby. Make sure to turn on the Bluetooth on the other device you want to pair.
Step 6: Once done, select your device and follow the on-screen instructions to complete the pairing process.
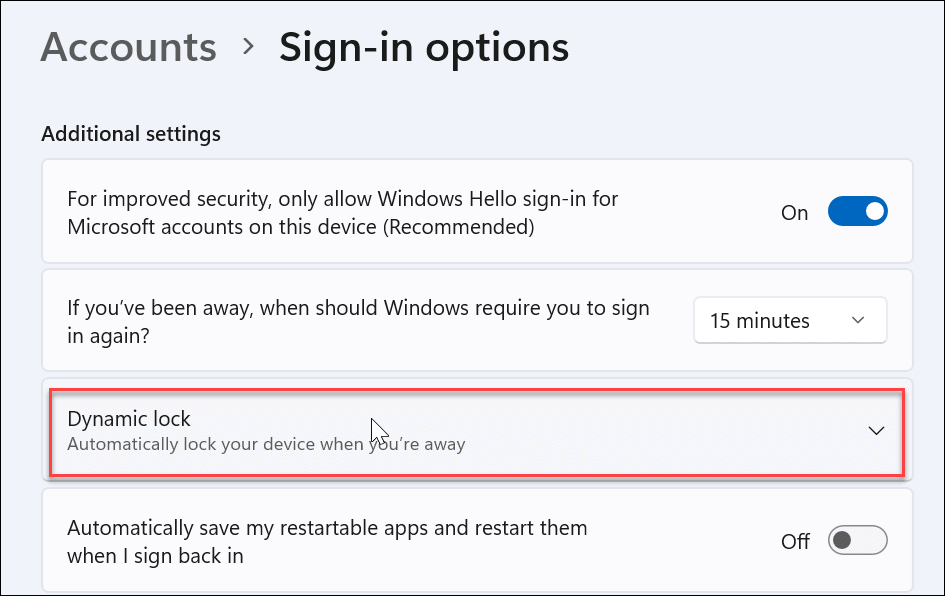
Step 7: Once paired, head to the Settings > Accounts > Sign-in options.

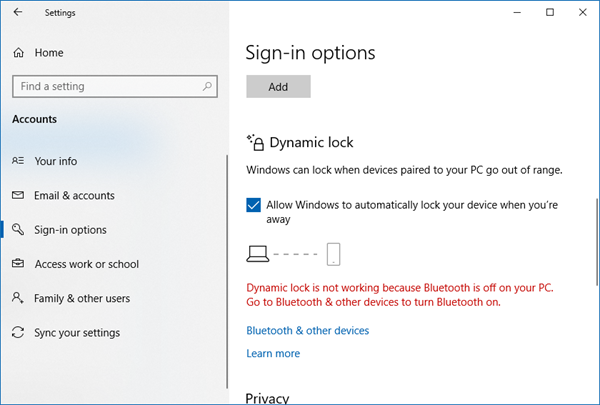
Step 8: On the Sign-in options screen, expand the Dynamic Lock.
Step 9: Next, check the box for Allow Windows to automatically lock your device when you’re away.

Step 10: If you don’t want to use this feature, you need to disable the checkbox for ‘Allow Windows to automatically lock your device when you’re away on Step 9.
That’s it! This will enable the Dynamic Lock security feature on your Windows 11 computer. You are done.


