The new email client in Windows l0 is vastly different from previous versions. Mail has been completely redesigned for Windows 10 and is virtually indistinguishable from the Windows 8 equivalent. Even with these enhancements, it still requires some fine-tuning before it can be called complete. In this post, we will check out how to setup your email account in simple way.
Just follow the below steps to configure your existing email account in Windows 10.
Setup Email Account in Windows 10
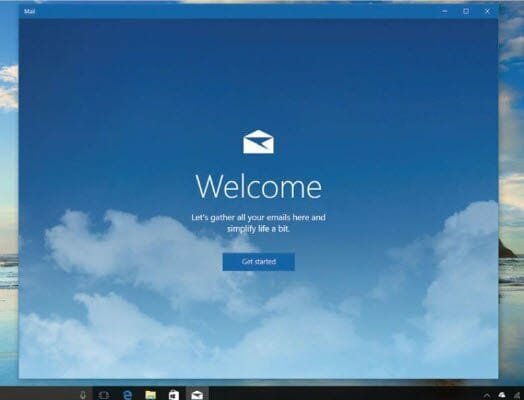
Step 1 : Launch Mail Client in Windows 10
Click on ‘Start’ Menu and search for Mail App.
As stated here, the idea behind the Mail app in Windows 10 is to collect all of your emails in one place to “simplify life a little.”
The app’s handling of email is quite clever, and it certainly differs from older apps like Windows Live Mail and Outlook Express.
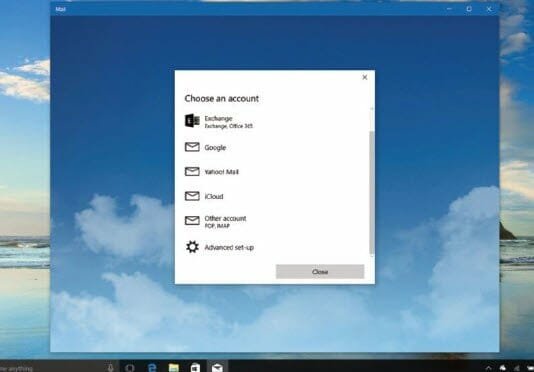
Step 2 : Add New Email Account
When you click Add Account, you will be able to add accounts from a variety of popular providers, including Google, Yahoo, and Apple’s iCloud.
If your work environment uses Microsoft Exchange, you can add a Microsoft Exchange account (including Office 365).
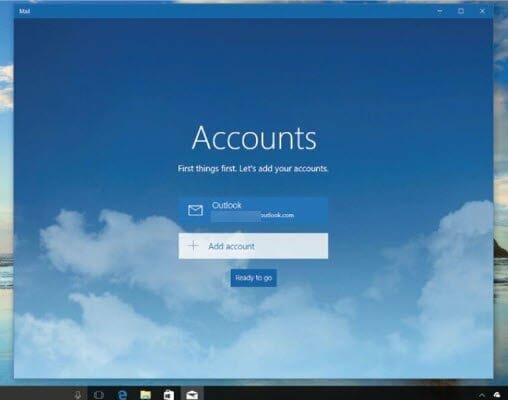
Step 3 : Synchronize your Email Account in Windows 10
If you signed into Windows 10 using a Microsoft account, the Mail app will automatically pull this in if email is enabled.
As you can see, you can also click Add Account if you want to add other email accounts (these can come from anywhere as long as they are yours).
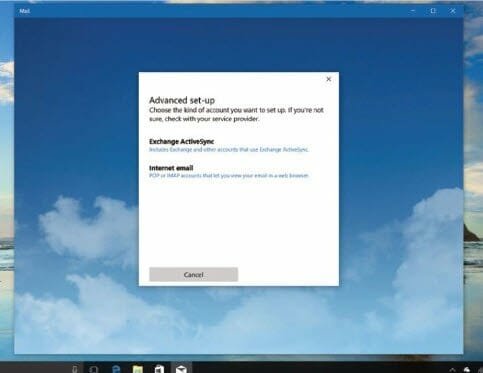
Step 4 : How To Do Advanced Mail setup in Windows 10
If you need to use the Advanced Setup option, you can define the type of account you’re creating.
Typically, you’ll select Internet Email, which includes accounts that use the POP3 or IMAP protocols to retrieve email (if your provider gives you the choice of which of those to use, select IMAP).
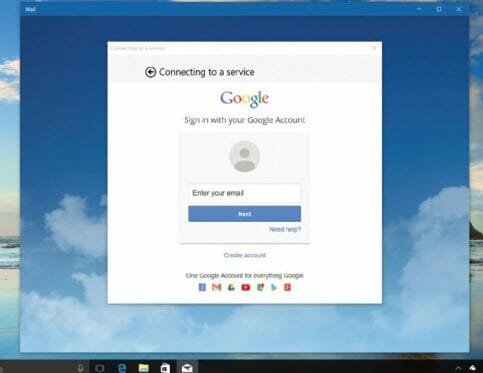
Step 5 : Easily Add your Gmail Account in Windows 10
When you add a Google account, you’ll see a somewhat familiar pop-up asking you to enter your username and password.
If you’ve enabled Google’s two-step authentication, you’ll receive a text message confirming your identity and be prompted to enter it.
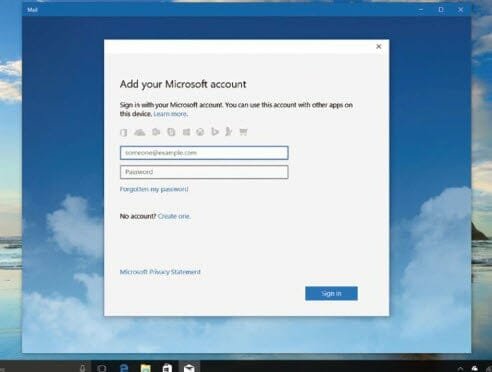
Step 6 : Add your Microsoft account
As previously stated, your Microsoft account should have been automatically retrieved. If not, you can manually add it. Simply type in your email address and password.
We went over Microsoft accounts in greater detail elsewhere, but if you want to sign up again, you can do so here as well.
That’s it. Enjoy the complete functionality of the mail client in Windows 10 which comes with host of features like grouping emails, personalized styles, color palette , zoom options etc.


