• About Us
  • Contact Us
  • Terms and Conditions
    • Privacy Policy & Disclaimer
TechArea
  • How to Do
  • Best Buy
    • Laptop
      • Best Laptops under 20000
      • Best Laptops under 30000
      • Best Laptop Under 35000
      • Best Laptops under 40000
      • Best Laptop Under 45000
      • Best Laptop Under 50000
      • Best Laptops under 60000
      • Best Laptops For Students
      • Best Gaming Laptop in India
      • Best Gaming Laptop Under 50000
    • Mobile
      • TOP 5 Mobiles Under 10000
      • Top 5 Smartphones Under 15000
      • TOP 5 Smartphones Under 20000
      • TOP 5 Smartphones Under 30000
    • Printer
    • Monitor
    • Fitness Tracker
    • Smartwatch
    • HDD & SSD
    • Projector
    • Action Camera
    • Router
  • APPS
  • Articles
  • Deals & Offers
No Result
View All Result
TechArea
No Result
View All Result
Home How To Do

How to Use PowerShell To Scan Windows 10 & Remove Virus

Powershell scan
Share on FacebookShare on TwitterPin To

In this post, we will see how to use PowerShell to perform a complete scan of your Windows 10 system and protect your PC. First, you need launch ‘Powershell’ app in your system.

To launch PowerShell, first, search for ‘powershell’ in windows search. Then, Right-click on the Powershell and select ‘Run as administrator’ to open the app.

Step By Step Guide To Scan Windows 10 Using PowerShell

Step 1: Check Defender Status

You need to ensure that Microsoft Defender is running on your device. If you are using any other security program other than Microsoft Defender, this method won’t work. You need to disable all third-party security suites to scan the computer with Microsoft Defender.

Get-MpComputerStatus

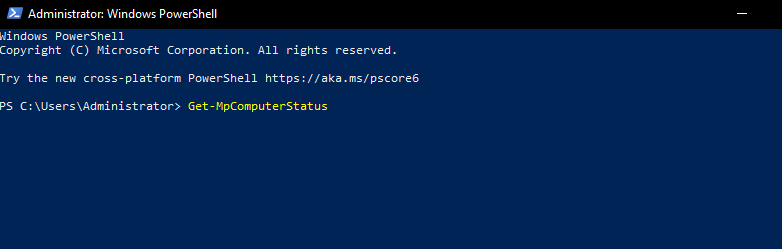
This command will list every detail of Microsoft Defender. If the Microsoft Defender is running on your system, it would show ‘True’ on the AntivirusEnable field.

Step 2: Update Microsoft Defender

If you timely install all Windows 10 updates, you don’t need to follow this method. However, if you don’t update Windows 10, then yo might need to update the Microsoft Defender application. To update Microsoft defender, execute the command –

Update-MpSignature

Step 3: Running a Full Virus Scan

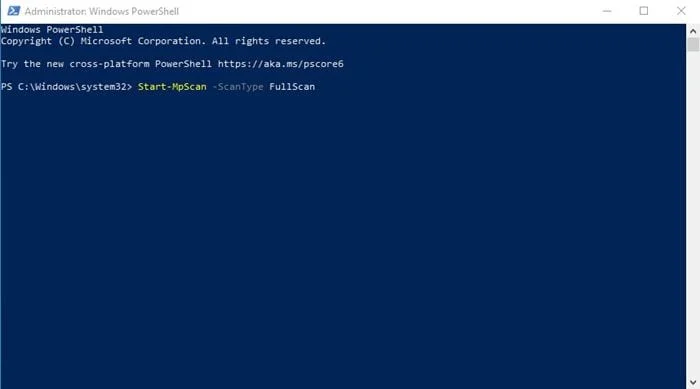
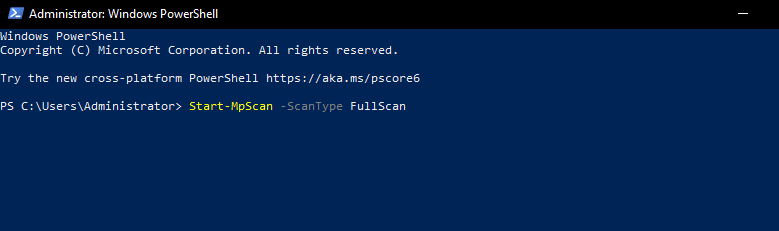
The full scan checks every file on your Windows PC; hence, it takes time to complete the full scan. To perform a full antivirus scan, execute the command-

Start-MpScan -ScanType FullScan

Since the full scan takes time to complete, you can force Microsoft defender to perform the scan in the background. To do that, execute the command.

Start-MpScan -ScanType FullScan -AsJob

Step 4: Run a Quick Scan using PowerShell

To run a Quick Antivirus scan using Powershell, execute the command given below and hit the enter button.

Start-MpScan -ScanType QuickScan

That’s it, you’re Done. This way you can use Powershell to Defend from virus and malware.

Previous Post

How to Block Ads on Android Using Private DNS

Next Post

How-To Remotely Wipe All Data From Lost or Stolen Laptop with Windows 10/11

Next Post
remote delete data in windows 10

How-To Remotely Wipe All Data From Lost or Stolen Laptop with Windows 10/11

Leave a Reply Cancel reply

Your email address will not be published. Required fields are marked *

Latest Posts

WhatsApp to business account

How To Change WhatsApp To Business Account – 6 Step Guide

Change your primary account on PhonePe

How To Change Primary Account in Phonepe – 2 Minute Guide

How To Unarchive Chat on Telegram?

How To Unarchive Chat in Telegram?

How To block ads on MX player?

How to Stop Ads on MX Player – 3 Easy Methods

Edite Your Name on Google Pay Featured Image

How To Change Name in Google Pay?

Newsletter Signup

Join Our 1000+ Subscribers Here


TechArea

© 2023 TechArea - Learn More & Share Even More TechArea.

Navigate Site

  • About Us
  • Terms and Conditions
  • Privacy Policy & Disclaimer
  • Contact Us

Follow Us

No Result
View All Result
  • How to Do
  • Best Buy
    • Laptop
      • Best Laptops under 20000
      • Best Laptops under 30000
      • Best Laptop Under 35000
      • Best Laptops under 40000
      • Best Laptop Under 45000
      • Best Laptop Under 50000
      • Best Laptops under 60000
      • Best Laptops For Students
      • Best Gaming Laptop in India
      • Best Gaming Laptop Under 50000
    • Mobile
      • TOP 5 Mobiles Under 10000
      • Top 5 Smartphones Under 15000
      • TOP 5 Smartphones Under 20000
      • TOP 5 Smartphones Under 30000
    • Printer
    • Monitor
    • Fitness Tracker
    • Smartwatch
    • HDD & SSD
    • Projector
    • Action Camera
    • Router
  • APPS
  • Articles
  • Deals & Offers

© 2023 TechArea - Learn More & Share Even More TechArea.