

If you share a Windows 10 computer with your children or they have one of their own, creating a separate account for them will benefit you both in the long term. A kid account in Windows 10 allows you freedom while also allowing you to impose certain restrictions for your personal peace of mind.
Follow the below simple steps to easily create and setup child account in windows 10
Setup Child Account in Windows 10

Step 1 : Launch Account Setup in Windows 10
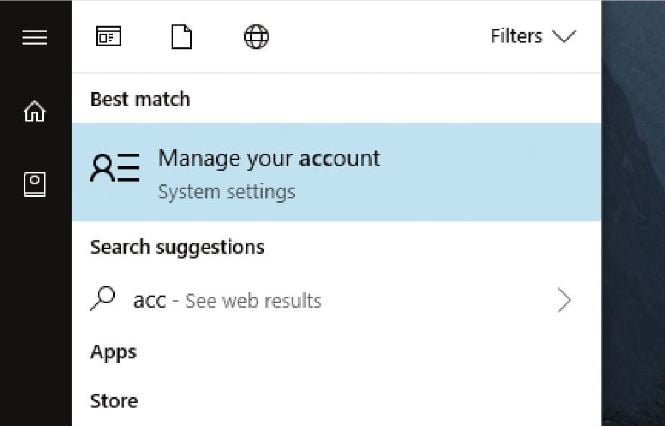
Click on ‘Start’ Menu and search for Account.
Select ‘Manage Your Account’ option
This will open up the Account Settings screen.

Step 2 : Account Settings in Windows 10
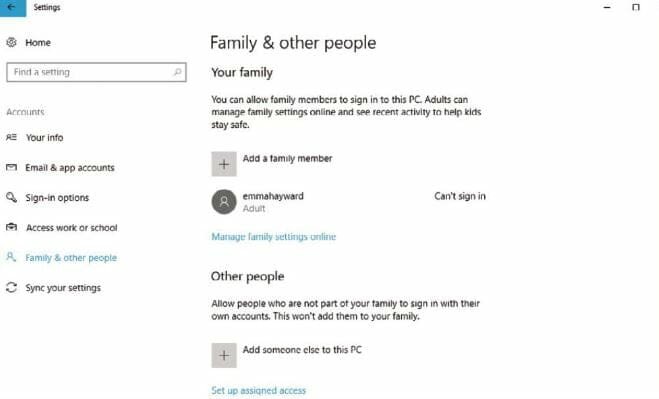
In this screen, if you had already setup accounts and signed in, they will be displayed.
If not, please sign in with your family account to activate this.
In the left-hand side, you can see there is ‘Family & Other people’ option, Click it


Step 3 : Add a New Family Account in Windows 10
Here, Click on the ‘Add a Family Member’ link.
This will launch a new pop-up window to create Microsoft child account.
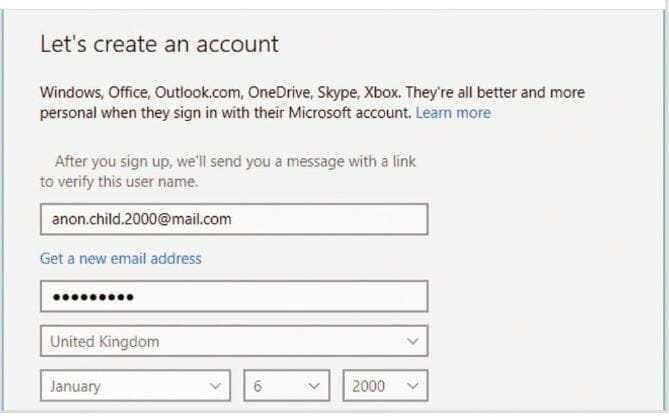
Select the option as ‘Add a child’ and enter a valid email address in the space provided

Step 4 : Activate the New Child Account in Windows 10
Once the details are added, the account is ready to be activated.
If its not an outlook mail, you will be asked to provide further details like location and date of birth.

Step 5 : Successfully created Child Account in Windows 10
A verification mail will be sent to the email address you gave during the Account setup process.
Please check the mail and successfully verify it by clicking the link.
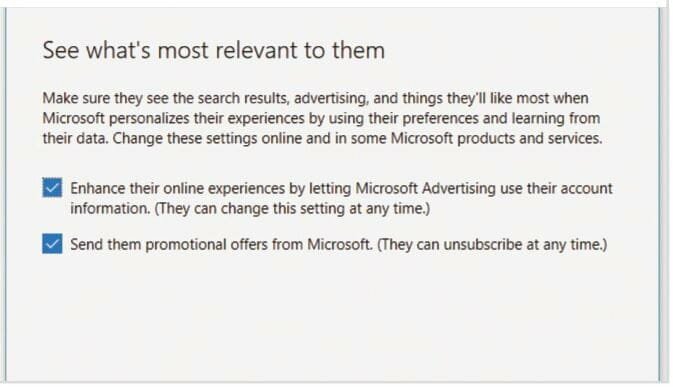
Once done, this screen will appear asking to personalize your experience & on promotions options. Please uncheck them.
That’s it. You have successfully created a child account in Windows 10 for your kid. Make sure to go back and check the Accounts screen in Settings to confirm everything is good.