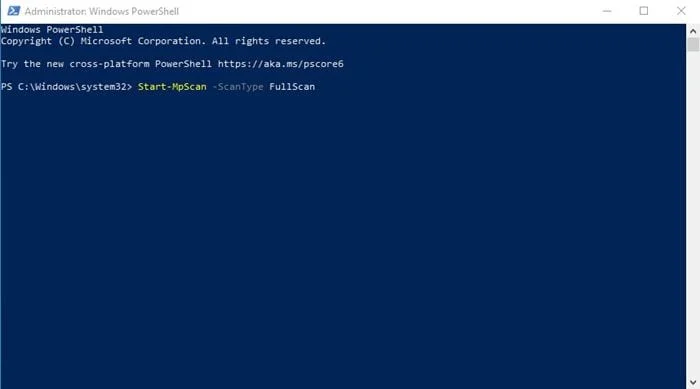
In this post, we will see how to use PowerShell to perform a complete scan of your Windows 10 system and protect your PC. First, you need launch ‘Powershell’ app in your system.
To launch PowerShell, first, search for ‘powershell’ in windows search. Then, Right-click on the Powershell and select ‘Run as administrator’ to open the app.
Step By Step Guide To Scan Windows 10 Using PowerShell
Step 1: Check Defender Status
You need to ensure that Microsoft Defender is running on your device. If you are using any other security program other than Microsoft Defender, this method won’t work. You need to disable all third-party security suites to scan the computer with Microsoft Defender.
Get-MpComputerStatus
This command will list every detail of Microsoft Defender. If the Microsoft Defender is running on your system, it would show ‘True’ on the AntivirusEnable field.
Step 2: Update Microsoft Defender
If you timely install all Windows 10 updates, you don’t need to follow this method. However, if you don’t update Windows 10, then yo might need to update the Microsoft Defender application. To update Microsoft defender, execute the command –
Update-MpSignature
Step 3: Running a Full Virus Scan
The full scan checks every file on your Windows PC; hence, it takes time to complete the full scan. To perform a full antivirus scan, execute the command-
Start-MpScan -ScanType FullScan
Since the full scan takes time to complete, you can force Microsoft defender to perform the scan in the background. To do that, execute the command.
Start-MpScan -ScanType FullScan -AsJob
Step 4: Run a Quick Scan using PowerShell
To run a Quick Antivirus scan using Powershell, execute the command given below and hit the enter button.
Start-MpScan -ScanType QuickScan
That’s it, you’re Done. This way you can use Powershell to Defend from virus and malware.
