

If you are using a Windows operating system, then you can easily flush the DNS Cache. To flush & rebuild the DNS cache in Windows 10 operating system, follow the simple steps.
Why Flush a DNS Cache?
- To clear outdated information. For getting the latest version of website, even if you clear your browser cookies won’t work, you need to clear cache for it to work.
- To safeguard your privacy
- To be safe and secure from online threats and cyber threats.
Steps To Flush DNS Cache in Windows 10
Step 1: First of all, open the start menu and search for CMD. Right-click on the CMD and select ‘Run as administrator’
Step 2: This will open an elevated Command Prompt with administrative rights.

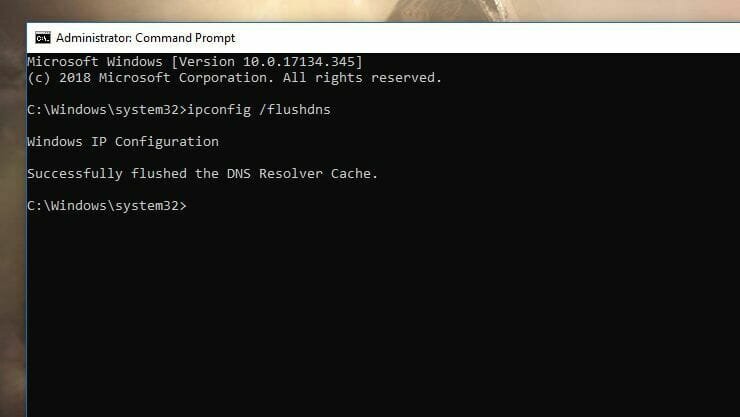
Step 3: On the Command Prompt, enter the command – ipconfig /flushdns
Step 4: Wait for few seconds until you get the success message.
Step 5: To exit the command prompt, type in ‘exit’ and hit the Enter button.
That’s it! You are done. Now restart the computer to apply the changes.