Do you know Netflix app comes pre-installed in many Laptops and Personal Computer running Windows 10 ? Even if not, you don’t have to go through the hassle of opening browser and logging to your Netflix account time.
Just follow the easy steps listed below to install the Netflix app from Windows Store and keep it in Start Menu Tiles to get instant access to your favorite Movies and TV series.
Easy Steps To Download Netflix App on Windows 10
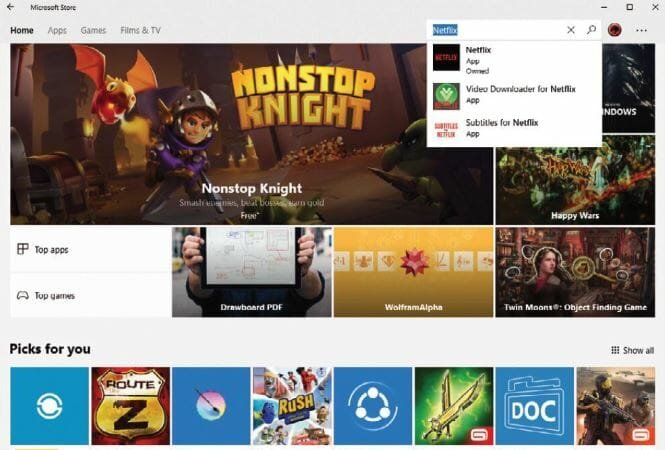
Step 1 : Search Netflix App
Begin by launching the Windows 10 Store. To bring up a list of available apps, type Netflix into the search box. The first option is to use the Netflix app. Click it to go to the app’s Store page.
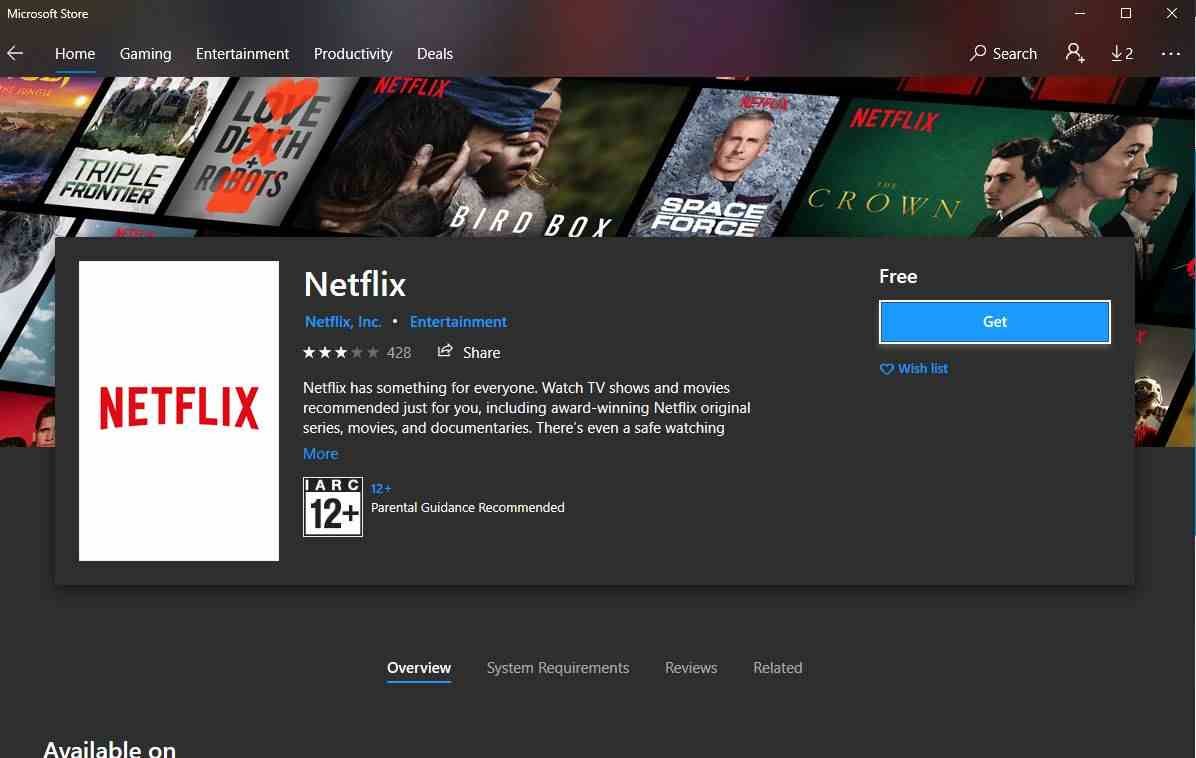
Step 2 : Install Netflix if not preinstalled
Depending on your Windows 10 setup, you may already have the Netflix app preinstalled. It is determined by how and who set up the system in the first place.
You can skip the next couple of steps if you already have Netflix. Otherwise, at the top of the window, click the install button.
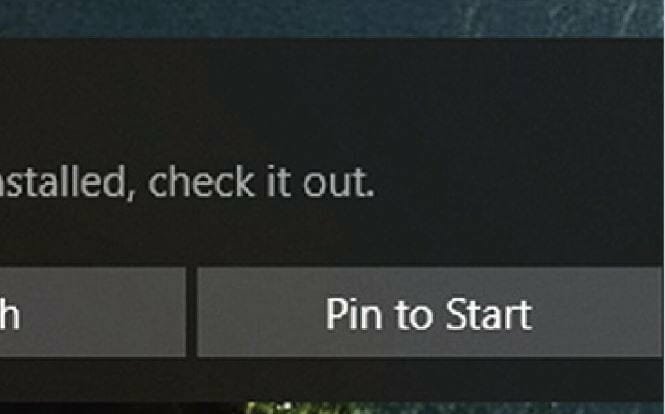
Step 3 : Pin Netflix App To Start Menu
Choose Pin to Start from the notification to add the app to the Start menu’s groups section.
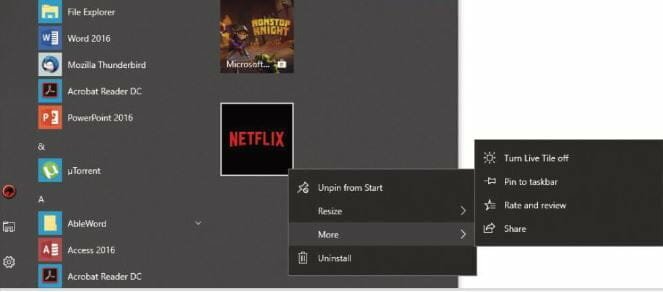
Step 4 : Customize the App
You can right-click the Netflix tile in the group section to move, resize, turn Live Tiles on or off, unpin, or even uninstall it. After you’ve made any changes to the tile, click it to launch Netflix.

Step 5 : Sign in To Netflix Account
If you already have a Netflix account, sign in by clicking the Sign In button in the upper right corner of the app’s window.
You can also join for free for a month by clicking the relevant button in the middle of the window.
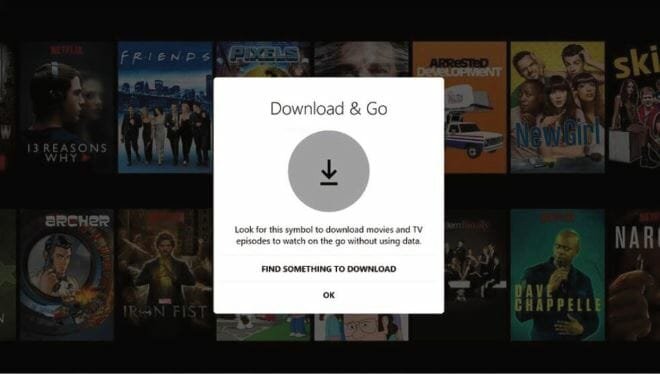
Step 6 : Enjoy Your Favorite Movies & Series
You can use Netflix’s search bar to look for specific movies and shows, or you can browse the Popular section to see if anything fits the bill.
It’s worth noting that the more shows and movies you watch, the more your Top Picks options will fill up.


